Short answer first: there is no single product called "the video cutting software." Video cutter is a category, and it contains three very different kinds of tools, desktop editors like Shotcut, Avidemux, iMovie, Clipchamp, CapCut and DaVinci Resolve; browser based trimmers like Kapwing, Clideo and Canva; and YouTube-link cutters like YT Video Downloader that trim straight from a URL. Pick the wrong category and a two-minute job turns into a two-hour one.
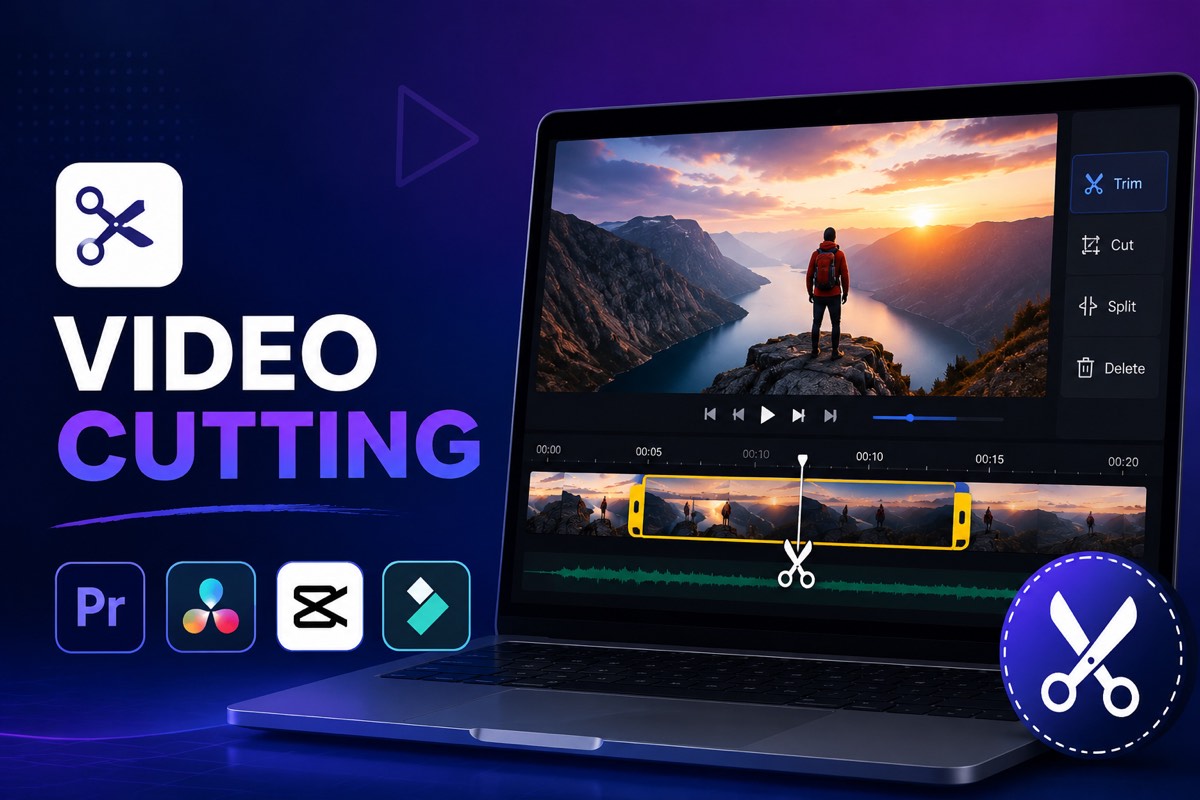
This guide answers the question properly: what the tools are actually called, which one matches your situation, and the exact steps for each. It also covers the part most articles skip, why so many people give up halfway through, and what quietly damages the quality of a cut.
Why "what is it called?" is the wrong first question
When someone asks for the name of the software used to cut videos, they usually have one of two things in front of them:
- A video file already sitting on their phone or computer.
- A YouTube link, and they only want 40 seconds out of a 45-minute video.
Almost every "best video cutter" list answers only the first case. It hands you a list of 19 desktop editors and calls the job done. If you started with a YouTube link, that advice sends you down a three-step detour: download the full video, import it into an editor, cut, then export again. Three steps, a large file on your drive, and a second round of compression on a clip that was already compressed once.
So the useful question is not "what is it called," it is "where is my footage right now?" The name follows from that.
The three categories, and what each one is actually good at
| Category | Common names | Best for | Main cost to you |
|---|---|---|---|
| Desktop editor (NLE) | DaVinci Resolve, Shotcut, Avidemux, iMovie, Clipchamp, CapCut, Premiere Pro, Final Cut Pro | Multi-clip projects, titles, audio work, colour | Install size, learning curve, export wait |
| Browser trimmer | Kapwing, Clideo, Canva, VEED, Adobe Express | One local file, quick trim, no install | Upload time, free-tier caps, watermarks on some |
| YouTube-link cutter | YT Video Downloader and similar URL based trimmers | Taking one section out of a video that lives on YouTube | You must have the right to use the source clip |
A fourth name appears in older answers: VLC. VLC can record a section while it plays, but it re-encodes on the fly and gives you no frame precision. It works in a pinch and is a poor default.
The pain points people actually hit
These come up constantly in forum threads and tool reviews, and they are the real reason a "simple trim" goes wrong.
1. The free tier stops you at the export button
This is the most common complaint about browser trimmers. The editing works fine, then the download screen asks for money or stamps a logo across the frame. Reported free-tier limits vary widely: some tools cap video length at a few minutes, others cap upload size, several add a watermark to every export unless you upgrade. You find out after doing the work, not before.
2. Upload time is longer than the clip
Trimming a 30-second moment out of a 2 GB recording means uploading all 2 GB first on most browser tools. On home upload speeds that is a long wait for eight seconds of output.
3. The download-edit-export tax
Starting from a YouTube link and using a desktop editor means saving the whole video, opening a project, cutting, and exporting. You end up storing a file you did not want, and you re-encode a clip that was already encoded once.
4. Quality drops for no obvious reason
People assume cutting is lossless. It usually is not. Each export re-compresses the picture, and if the export settings default to a lower bitrate or resolution than the source, the clip looks softer than what you watched. Text and screen recordings show it first.
5. The editor is built for a different job
Resolve and Premiere are excellent and they are colour, audio and finishing suites. Installing several gigabytes of professional software to remove an intro is the wrong shape of tool for the task.
6. Sign-up walls
Account creation for a one-off, thirty-second task is friction people abandon at. It is a conversion tactic, not a technical requirement.
Choose in thirty seconds
| Your situation | Use this |
|---|---|
| You have a YouTube link and want one section | A YouTube-link cutter, no full download, no editor |
| File is on your phone, one simple trim | The built-in Photos editor (iPhone) or Google Photos (Android) |
| One file on your computer, single trim | QuickTime (Mac), Clipchamp (Windows), or a browser trimmer |
| Cutting several clips together with titles and music | A desktop editor, Shotcut or DaVinci Resolve free |
| You need the cut to be frame-exact for delivery | A desktop editor with a timeline and a visible playhead |
Steps: cutting a clip from a YouTube link
Use this when the footage lives on YouTube and you only need part of it. You must have the right to use the content, see the note near the end of this guide.
- Copy the video URL. Any standard watch link, Shorts link or shared link works.
- Paste it into the cutter. On our cutter, paste into the box on the home page. The video loads for preview without downloading the whole file to your device.
- Set the start and end time. Type the exact timestamps or drag the range handles. Write the timestamps down before you start, scrubbing blindly is what makes this step slow.
- Check the clip length. The tool shows the duration of the section you selected. Confirm it matches what you expected before processing.
- Pick the quality. Standard definition is available free. Higher resolutions are part of the premium plans.
- Process and download. The clip is cut server-side and delivered as an MP4. No editor, no project file, no full-length copy on your drive.
Typical time: under a minute for a short clip. The longer walkthrough of this route, including how to read the timestamps off the player first, is in how to cut a part of a YouTube video and download just that clip.
Steps: cutting a video file you already have
These steps are near-identical across Clipchamp, Shotcut, iMovie, CapCut and Resolve. Learn them once and every editor makes sense.
- Import. Drag the file into the media bin, or use File > Import.
- Drop it on the timeline. Nothing is editable until the clip is on the timeline.
- Park the playhead where the cut goes. Use the arrow keys for single-frame movement instead of dragging with the mouse.
- Split. The scissors icon, the Split button, or Ctrl/Cmd+K in most editors. Split once at the start of the part you want and once at the end.
- Delete what you do not need. Select the unwanted piece and press Delete. Use ripple delete if you want the gap to close automatically.
- Preview the join. Play across every cut point. Clipped words and half-frames live exactly there.
- Export with matching settings. Set resolution and frame rate to match the source. Do not export a 1080p 60fps recording at 720p 30fps unless you meant to.
If you only need to shorten the beginning or end, skip splitting entirely: drag the clip's edge inward. That is trimming, and it is faster.
Steps: browser trimmer for a local file
- Open the tool and upload the file. Check the free-tier length and size limits before you wait for the upload.
- Drag the trim handles to your range, or type the timestamps.
- Preview the result.
- Export, then confirm the download has no watermark before you use it anywhere.
If the file is already on your machine, our upload based cutter does the same job in the browser, with no account and no watermark.
Trimming, splitting and cropping are not the same thing
- Trim: shorten from the start or end. Nothing in the middle changes.
- Split (cut): slice the clip into pieces so you can delete or rearrange a middle section.
- Crop: change the visible frame area, for example turning a 16:9 video into a vertical 9:16 clip. Length is untouched.
Doing this on a phone changes the shortcuts rather than the logic, and cutting a YouTube video on your phone covers where the file lands on iPhone and Android afterwards.
People asking for a "video cutter" usually want trim or split. Searching for the wrong one is why some tutorials feel like they are answering a different question.
Mistakes that ruin a cut
- Cutting on the exact word boundary. Leave roughly half a second of air on each side. A cut placed on the last syllable sounds clipped.
- Exporting below the source quality. The most common cause of "why does my clip look blurry."
- Re-exporting an already-exported clip. Every pass costs quality. Go back to the original and cut again instead.
- Not checking audio at the join. Video can look clean while the audio pops.
- Working from a screen recording of a video. Recording your monitor to capture a clip stacks two rounds of compression and usually drops frames.
Permission matters before any of this
Cutting a clip does not change who owns it. YouTube's Terms of Service state that content should not be downloaded, reproduced or modified unless YouTube provides that option, the rights holder gives permission, or the law otherwise allows it. In practice that means clips from your own uploads, licensed or public-domain material, content you have written permission for, or a use your jurisdiction genuinely permits. Check before you publish anything, not after.
Frequently asked questions
What is the software used for cutting videos actually called?
The category is called a video cutter, video trimmer or video editor. Widely used names include DaVinci Resolve, Shotcut, Avidemux, iMovie, Clipchamp, CapCut and Adobe Premiere Pro for desktop; Kapwing, Clideo, Canva and Adobe Express in the browser; and URL based cutters like YT Video Downloader for clips that live on YouTube.
What is the easiest way to cut a video for a beginner?
If the video is on your phone, the built-in Photos editor. If it is a YouTube link, a link based cutter, because that skips the download and the editor entirely. Reach for a desktop editor only when you are combining several clips.
Can I cut a YouTube video without downloading the whole thing?
Yes. A YouTube-link cutter takes the URL and the timestamps and returns only the selected section. That is the entire point of the tool class, and it is the fastest route when you need 40 seconds out of a 45-minute video.
Does cutting a video reduce its quality?
The cut itself does not remove picture information, but almost every tool re-encodes on export, and that costs a little quality. Keep the export resolution, frame rate and bitrate at or above the source, and avoid cutting an already-exported clip a second time.
Is there a free video cutter without a watermark?
Yes. Shotcut, Avidemux, DaVinci Resolve's free version, iMovie and Clipchamp export without watermarks. Among online tools, watermark policies differ by product and change over time, so check the export screen before you rely on one. Our cutter never watermarks a clip. Free downloads run up to 480p, and 720p and 1080p sit on the premium plans.
What is the difference between cutting and trimming?
Trimming shortens a clip from its start or end. Cutting, or splitting, divides the clip so a middle section can be removed or moved. Most people asking to "cut" a video only need a trim.
Can I cut a video on my phone?
Yes. iPhone: open the video in Photos, tap Edit, drag the ends of the frame strip, tap Done. Android: open it in Google Photos, tap Edit, drag the trim handles, then Save copy. For YouTube links, a browser based cutter works on mobile without installing anything.
Putting it together
The name of the software is whichever category matches where your footage lives. Local files with lots of editing ahead of them belong in a desktop editor. A single local file needs nothing more than a browser trimmer or the tool already built into your operating system. And a YouTube link needs a link based cutter, because downloading a 45-minute video to keep 40 seconds is the step worth deleting from the workflow.
If your footage is a YouTube link, paste it into our cutter, set your timestamps, and download the section. No install, no account, no watermark.